


PostGIS – Migrating to a Database from Files in a Desktop
While introducing PostGIS the most important hurdle is grasp the fact that there are no files to handle. Losing that control scares users. So in this blog about PostGIS, we will talk about how to perform basic file related tasks in a database.
We will focus on the following :
1. Copy data layers
2. Rename data layers
3. Delete data layers
4. Share/Save a data layer
5. Use QGIS plugins to access PostGIS Data
All the steps are similar for simple tabular layers ( CSV, DBF files ) and for spatial layers ( SHP files ).
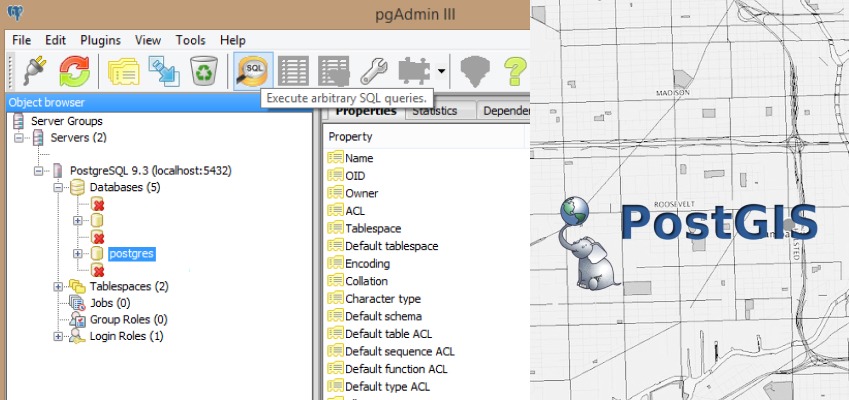
These SQL Commands can be run in command line or within SQL window in pgadmin which can be downloaded independently.
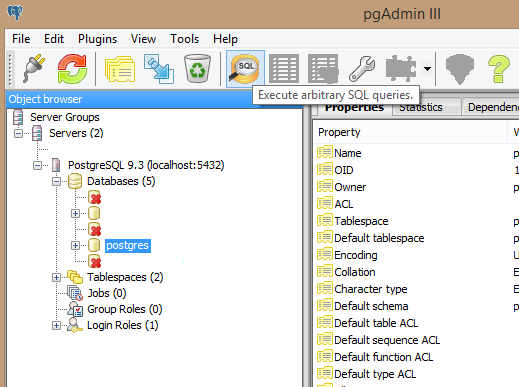
The SQL commands would run on the active database ( highlighted on the left in blue )
Copy Data layers
While using desktop GIS systems, users copy files for various reasons. We found that users with basic knowledge of SQL were not sure how this could be achieved in a database. The COPY command did not work as they had hoped.
“COPY moves data between PostgreSQL tables and standard file-system files.”
The process to copy a table ( spatial or non-spatial ) is to first create a table and then populating that table by selecting all the records of an existing table.
Step a) Selecting all the records in an existing table:
SELECT * FROM <existing_table>
or
SELECT * FROM <schema1>.<existing_table> ( if we plan to copy data from one schema to another )
Now that all the records ( rows ) from the existing table are selected, we need to get this into a new table.
Step b) Creating new table:
CREATE TABLE new_table(
column1 datatype,
column2 datatype,
…
columnN datatype,
PRIMARY KEY ( one or more columns)
);
In this case, we will bring all the selected records from a table into a new table by combining two independent SQL commands.
The way to combine the commands is
CREATE TABLE <schema>.<new_table> AS (SELECT * FROM <schema1>.<existing_table>)
Rename Data Layers
This is very straight forward and included here only for completeness.
ALTER TABLE <table_name> RENAME TO <new_table_name>
The user needs specific permissions to create table and alter tables. Unless the user ( the credentials used to connect to the Database ) is the owner, the admin/owner of the table/database should grant permissions to the user for performing specific tasks. This allows a fine grained control of data which is difficult to implement in a file based system.
GRANT Command can be used for assigning privileges to particular users.
Delete data layers
DROP TABLE <table_name>
Only owners of the table or users with rights to drop a table can run this command successfully.
Share/Save Layer
To share data from a database, a backup of it has to be created which is done using ‘pg_dump [option…] [dbname]’ . This command creates a backup of an entire database to a single file.Backing up and restoring data in schemas is much simpler than managing lists of tables to be backed up individually.
Example:
pg_dump –host localhost –port 5432 –username “postgres” –role “postgres” –no-password –format tar –verbose –file “C:\Avg_max_temp.backup” –table “public.\”Avg_Max_Temp_c\”” “mydatabase”
Created backup file can be restored into another new database either in the same system or a different one.
To restore, create a new database or go to the desired database to restore from the available location, this requires a restore command ‘pg_restore [option…] [filename]’.
pg_restore –host localhost –port 5432 –username “postgres” –dbname “mydatabase” –role “postgres” –no-password –data-only –table test –schema test –verbose “C:\Avg_max_temp.backup”
The backup similarly can be created for each schema or a single table. These can only be restored over a new schema or a table respectively and not on an entire database.
We will discuss how to bring layers into PostGIS and then how we can manipulate the data using SQL commands from command line in the next few articles. Meanwhile, to easily import data into PostGIS, use QGIS SPIT plugin.
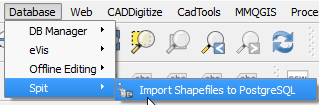
Select the “Import Shapefiles to PostgreSQL” option, which opens up a dialog box. Connect to the already existing PostgreSQL database or if connecting to a new database choose the “New” option and provide the connection parameters.
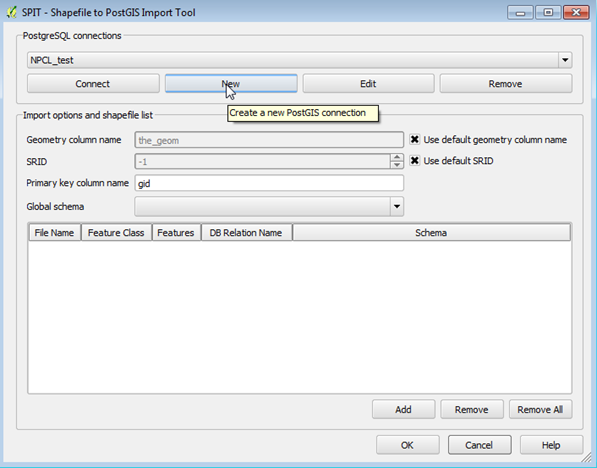
Connection parameters contains the name of the Database, hostname, Username and password.
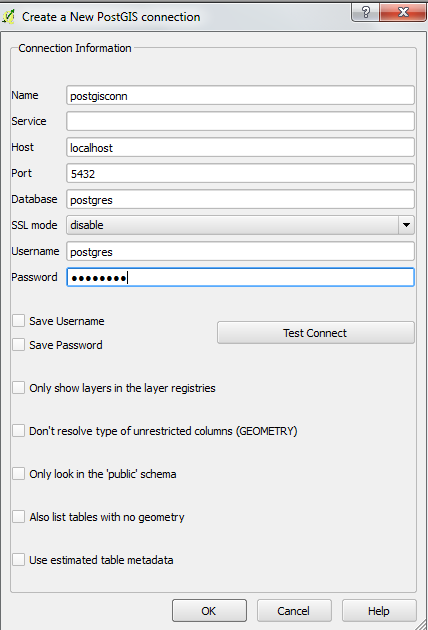
After creating the new connection enter the geometry column name and the SRID (projection EPSG code) for the layer to be imported inside Postgis database along with the Schema in which the data is going to be imported. Select the layers to import by adding them into the dialog box and then click import.
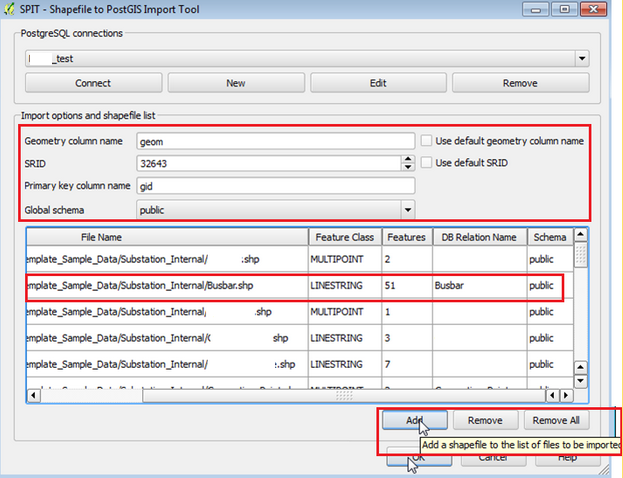
All the shapefiles selected will be imported into the specified database under the mentioned schema.
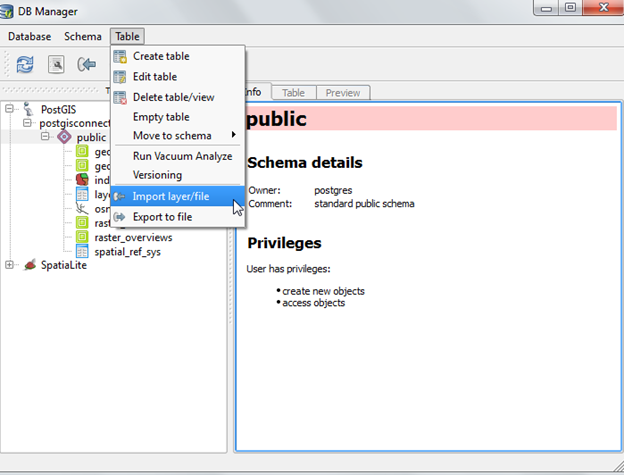
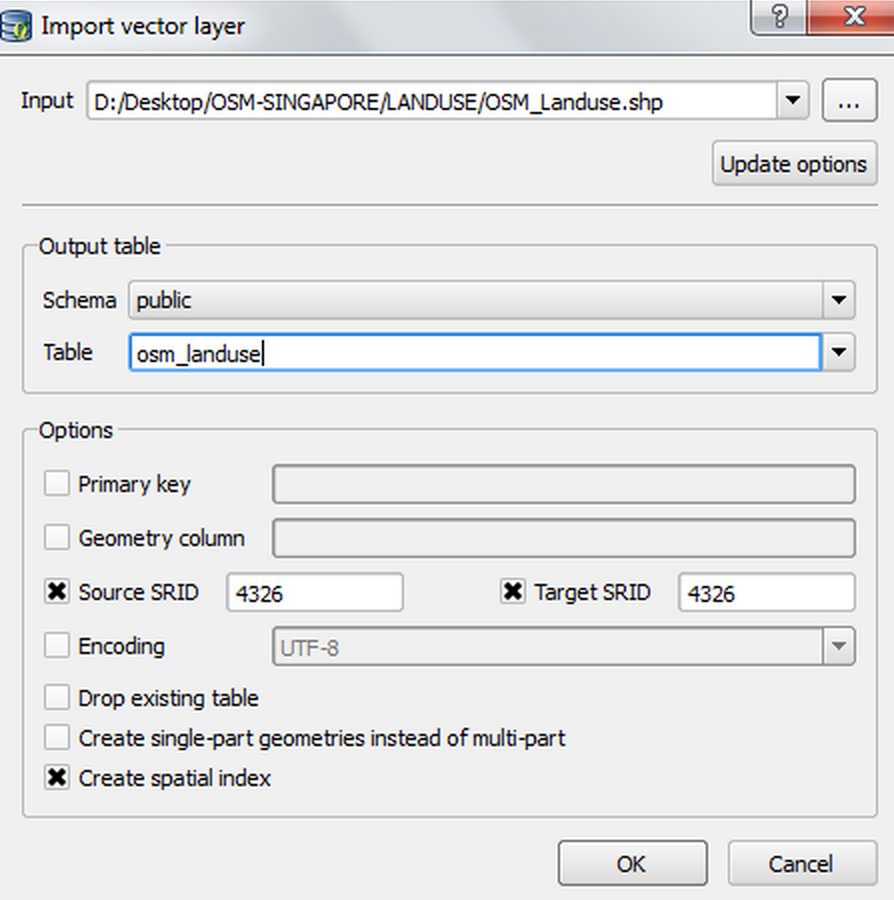
These layers can be viewed by opening them as a Postgis layer in QGIS to edit or to just view DB Manager can be used. Data can also be imported into the database using the import tool within DB manager plugin.
|
|
|
|
|
|
This article is part of our PostGIS support services which we provide to local customers in India. For online support we RDP to the client machine or use Teamviewer 7 to access client machines.